
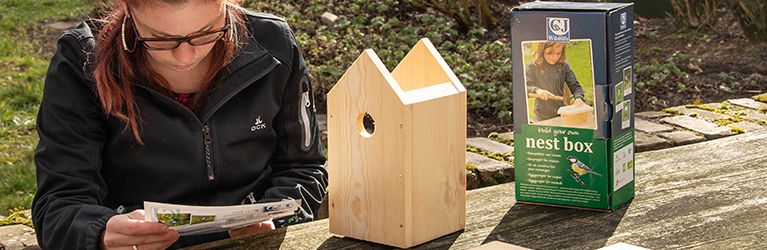
A DIY birdhouse is not only a charming addition to your garden but also provides birds with a safe nesting site. With just a few materials and some basic woodworking skills, you can build a sturdy and functional birdhouse to support local birdlife.
This step-by-step guide will show you how.
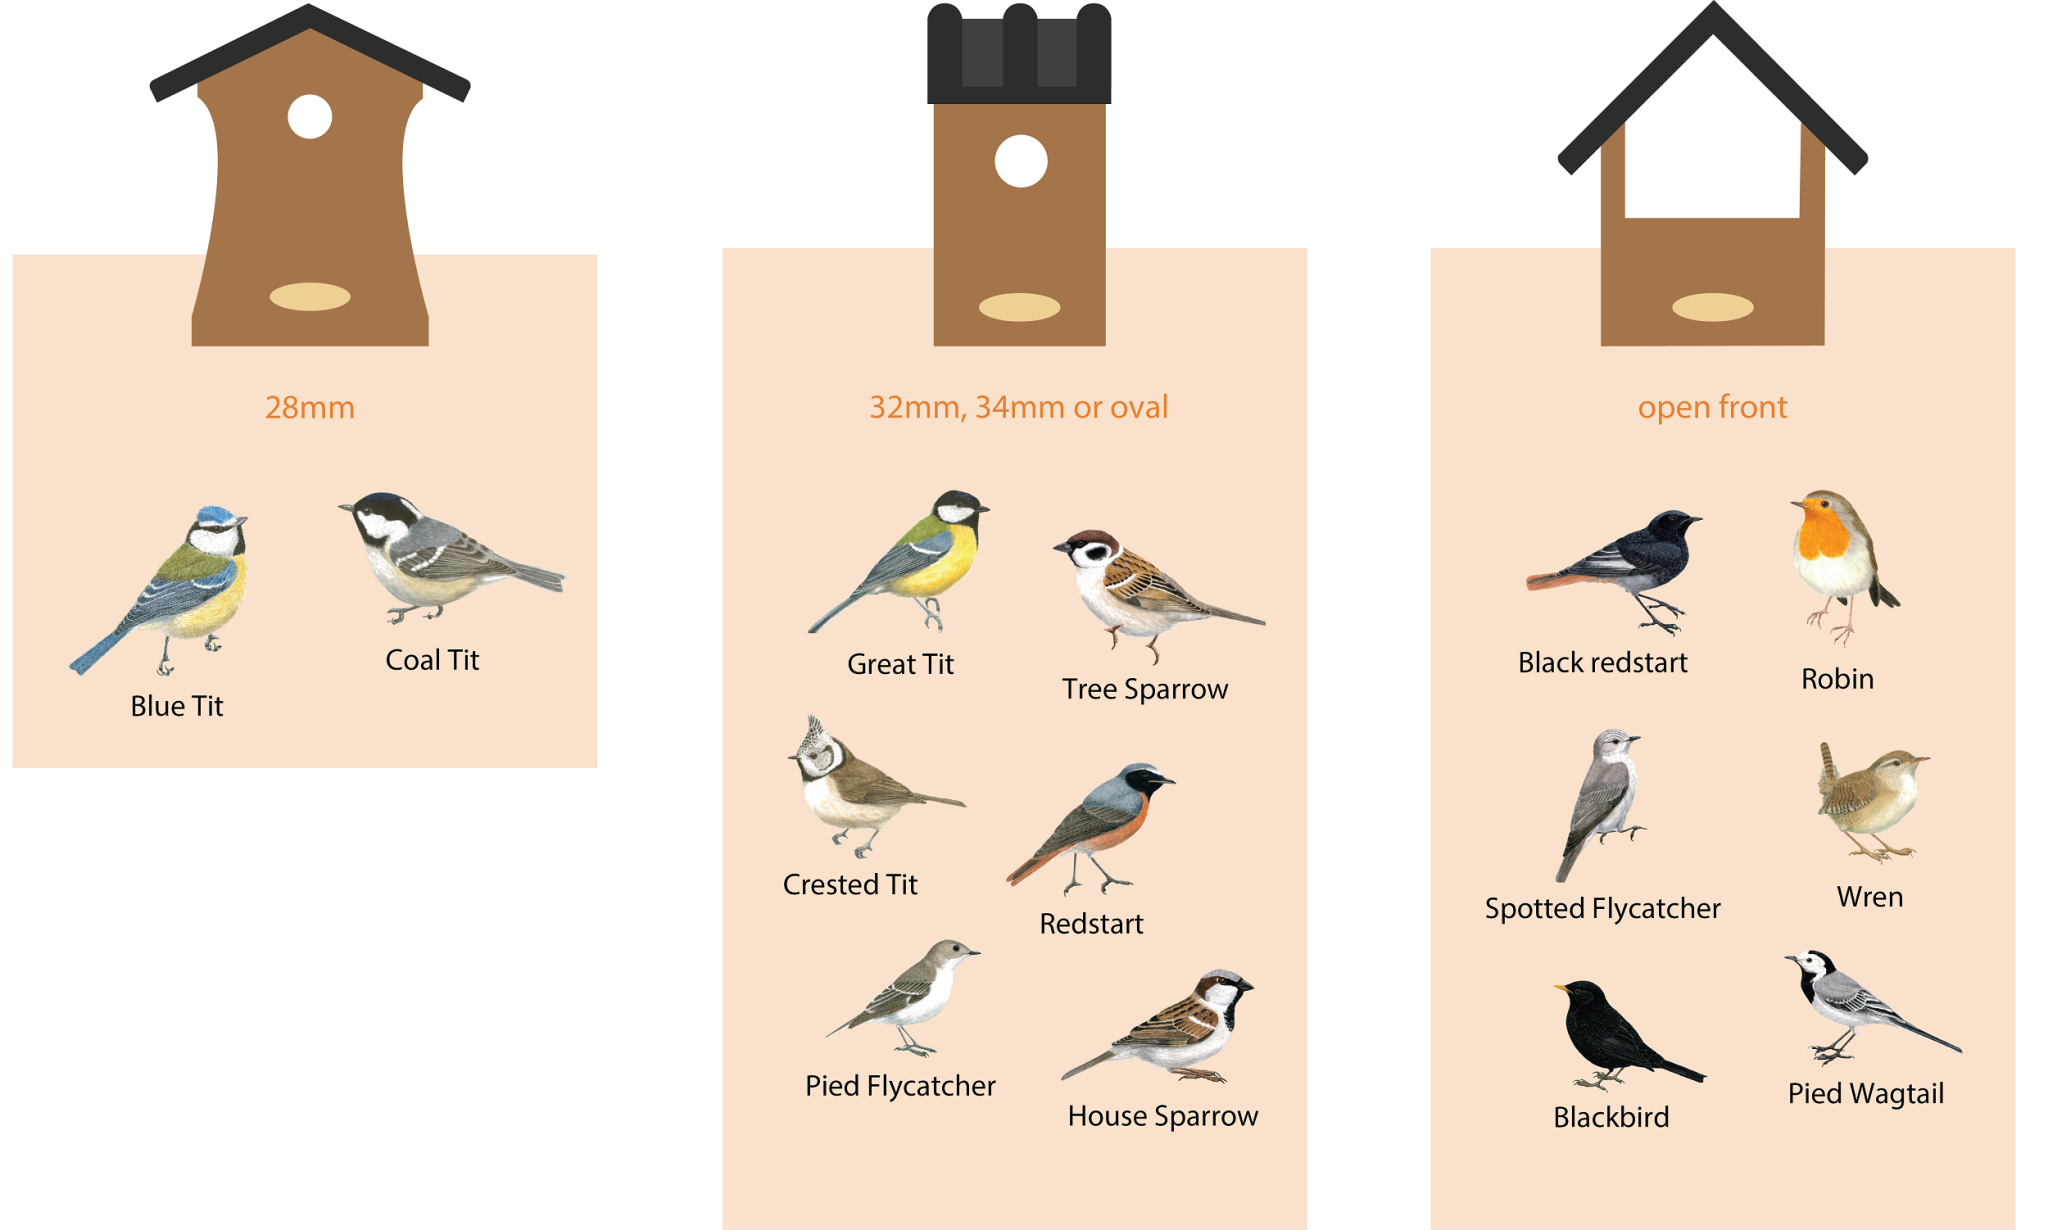
1. Choosing the right size and design
Before you start building, consider which bird species you want to attract. Different birds have specific requirements for their nesting spaces.
Recommended sizes for common bird species:
- Tits & sparrows: Entrance hole 32 mm, internal dimensions approx. 12 x 12 x 25 cm
- Robins & wrens: Open-front design, internal dimensions 14 x 14 x 25 cm
- Starlings: Entrance hole 45 mm, internal dimensions 15 x 15 x 30 cm
A slightly slanted roof helps rainwater run off and keeps the interior dry.
2. Materials and tools you’ll need
For a durable and safe birdhouse, choose natural, untreated wood and rust-resistant hardware.
Materials:
- Wood (fir, pine, or oak, at least 1.5 cm thick)
- Brass screws or rust-proof nails
- Waterproof wood glue
- Roofing felt or metal sheet (optional for extra rain protection)
Tools:
- Saw (jigsaw or hand saw)
- Drill with a Forstner bit (to drill the entrance hole)
- Sandpaper or sanding machine
- Screwdriver or hammer
Important: Avoid painted or chemically treated wood, as it can be harmful to birds.
3. Cutting the wood pieces
Now it’s time to start building! Cut the following pieces (example for a tit nesting box with a 32 mm entrance hole):
Wood cut list:
- Front panel: 12 x 25 cm (with a 32 mm entrance hole, approx. 5 cm from the top)
- Back panel: 12 x 30 cm
- Side panels: 12 x 25 cm
- Bottom panel: 12 x 12 cm
- Roof panel: 16 x 16 cm (slightly overhanging)
Important: Drill small drainage holes in the bottom to allow water to escape.
4. Assembling the birdhouse
- Attach the front and side panels using screws or nails.
- Insert and secure the bottom panel.
- Fix the back panel in place.
- Attach the roof, ensuring it slightly overhangs for extra protection.
Important: Make the roof removable or attach it with hinges so you can clean the birdhouse later.
5. Making the birdhouse weatherproof
To ensure your birdhouse lasts, take some extra steps to protect it from the elements:
- Treat the wood with natural linseed oil or beeswax (avoid chemical varnishes)
- Cover the roof with roofing felt or a metal sheet
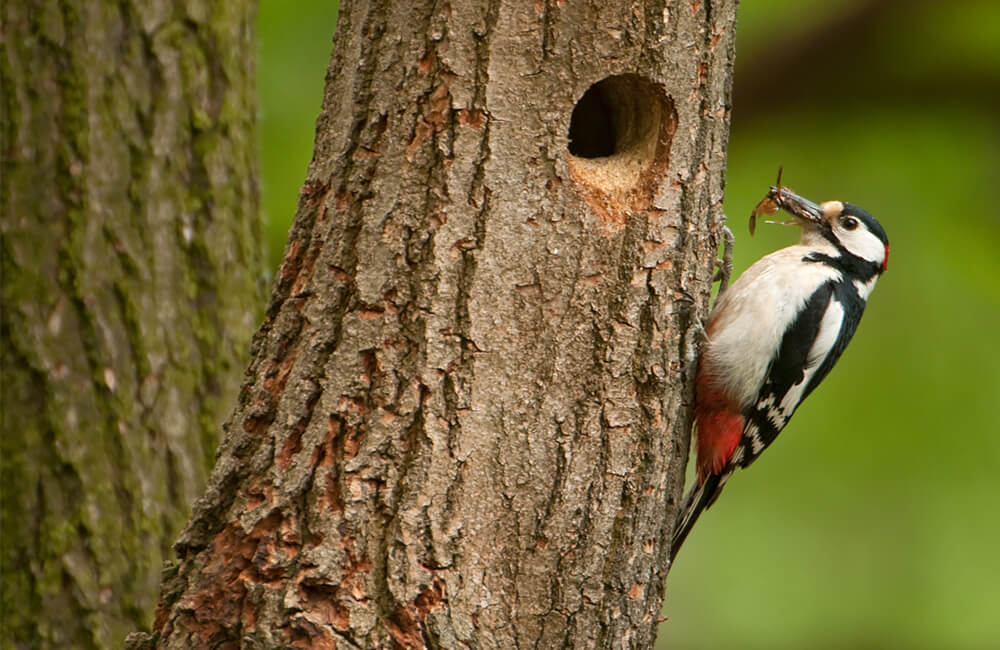
- Reinforce the entrance hole with a metal ring to prevent woodpeckers or squirrels from enlarging it
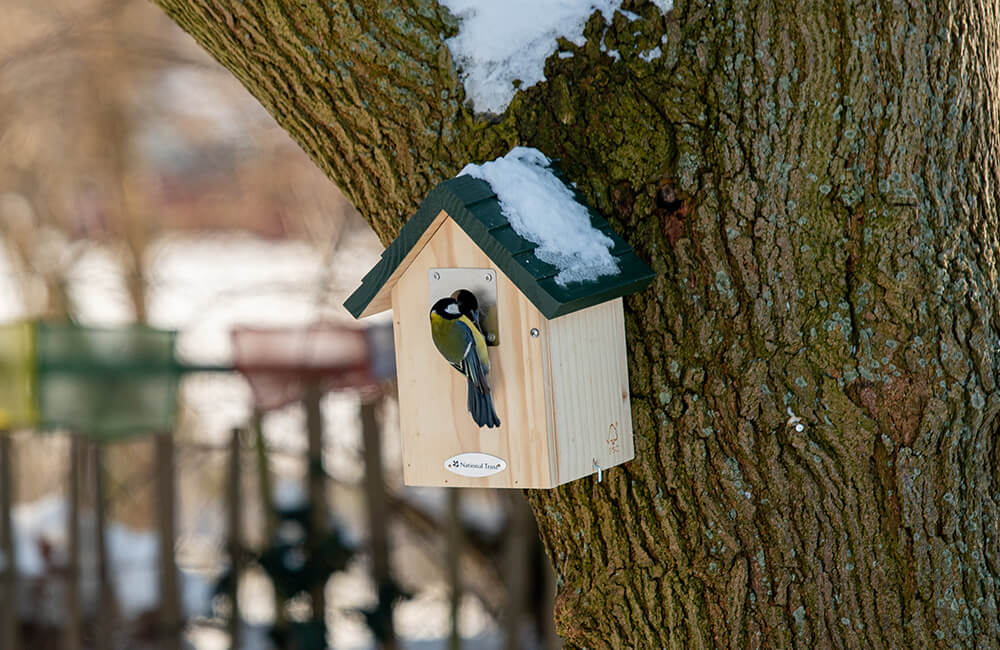
6. Finding the perfect location for your birdhouse
Proper placement increases the chances of birds using your birdhouse.
Best placement tips:
✔ Height: 2 – 3 meters above the ground
✔ Direction: Entrance hole facing east or southeast
✔ Protection: In a quiet location, away from direct sun and heavy rain
✔ Secure attachment: Firmly mounted on a tree, post, or house wall
Important: Keep at least 3 – 5 meters between birdhouses to prevent territorial conflicts.
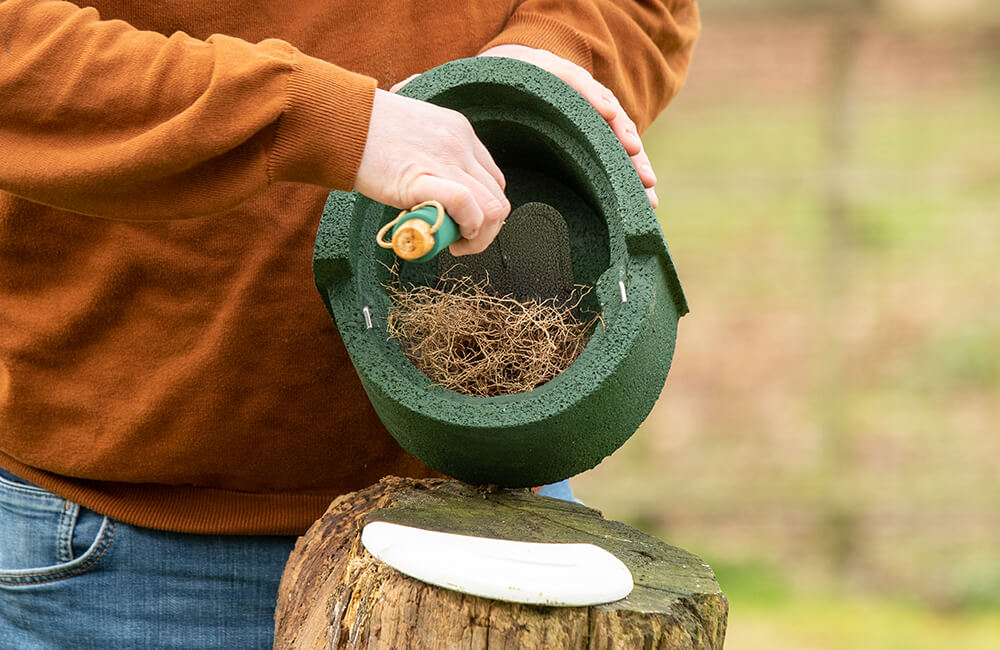
7. Cleaning and maintaining your birdhouse
A birdhouse should be cleaned once a year – ideally in autumn after the breeding season. Remove old nesting material to prevent parasites.
Cleaning tips:
- Wear gloves
- Rinse with hot water (avoid chemical cleaners!)
- Let it dry completely before reattaching
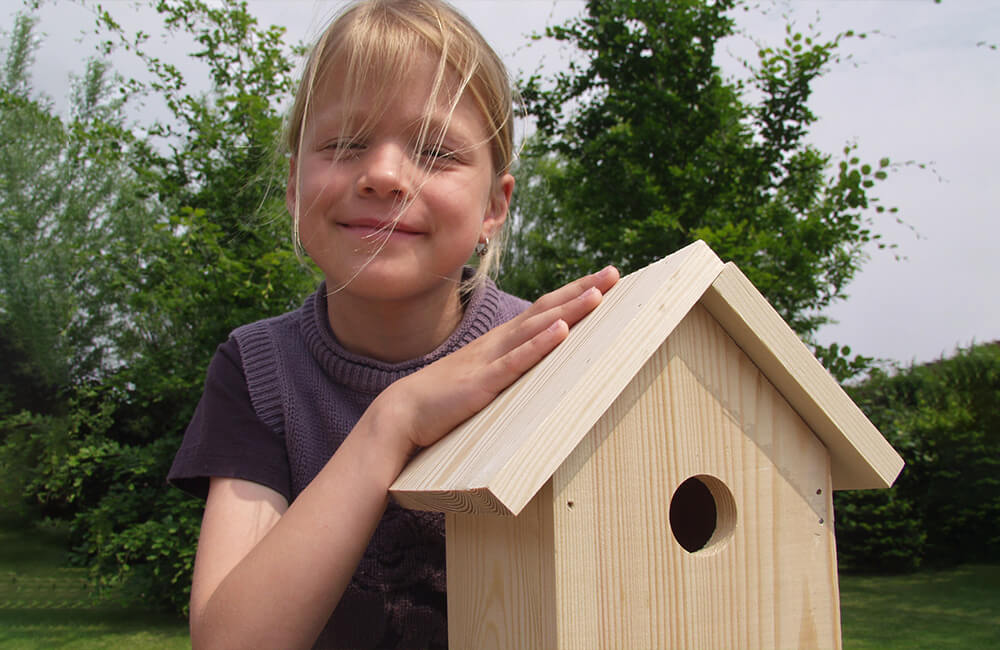
Building a birdhouse is worth it!
Key takeaways:
- Choose the right design for your target bird species
- Use untreated, weatherproof wood
- Build a sturdy and safe birdhouse with an overhanging roof
- Place it in a quiet, sheltered location with the entrance facing east
- Clean it once a year to welcome new bird generations
By building your own birdhouse, you’re helping to support local biodiversity while enjoying the beauty of birds in your garden. Have fun building!